


Blog, Network Cabling
How to Check & Solve Ethernet Cable Problems

Oct
When playing online games or transferring files, your computer suddenly lags or prompts ‘ethernet cable not detected.’ I am sure you will be very anxious and annoyed. Don’t worry. This guide will provide concrete ideas and steps to check and solve Ethernet cable problems.
#1. Check physical connection: First, check whether the Ethernet cable is detached from the port. If it is, re-insert the Ethernet cable into the port. If it still slips off easily, you may need to replace it.OPTCORE provides high-quality Ethernet cables, including Cat6, Cat6a, Cat7, and Cat8.
-
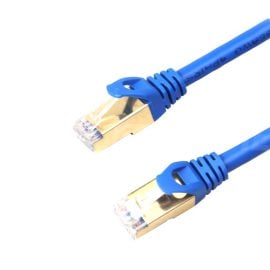 Cat7 Snagless Shielded (SFTP) Ethernet Network Patch Cable, PVC, BluePrice range: US$ 2.20 through US$ 25.80 (Excl. VAT)
 -
 Cat8 Snagless Shielded (SFTP) 25G/40GBase-T Ethernet Network Patch Cable, PVC, BlackPrice range: US$ 2.25 through US$ 28.80 (Excl. VAT)
 -
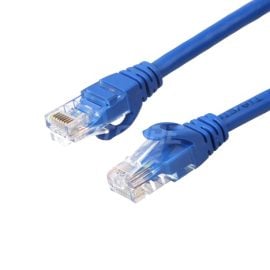 Cat6 Ethernet Network Patch Cable, Snagless Unshielded (UTP), PVC, BluePrice range: US$ 0.85 through US$ 13.10 (Excl. VAT)
#2. Check the Ethernet cable: Remove it and plug it into a computer customarily connected to the network and into an Ethernet port to see if it still connects correctly. If it doesn’t, the cable is damaged, or the connector crimp is loose. If it connects well, the possible reasons are below.
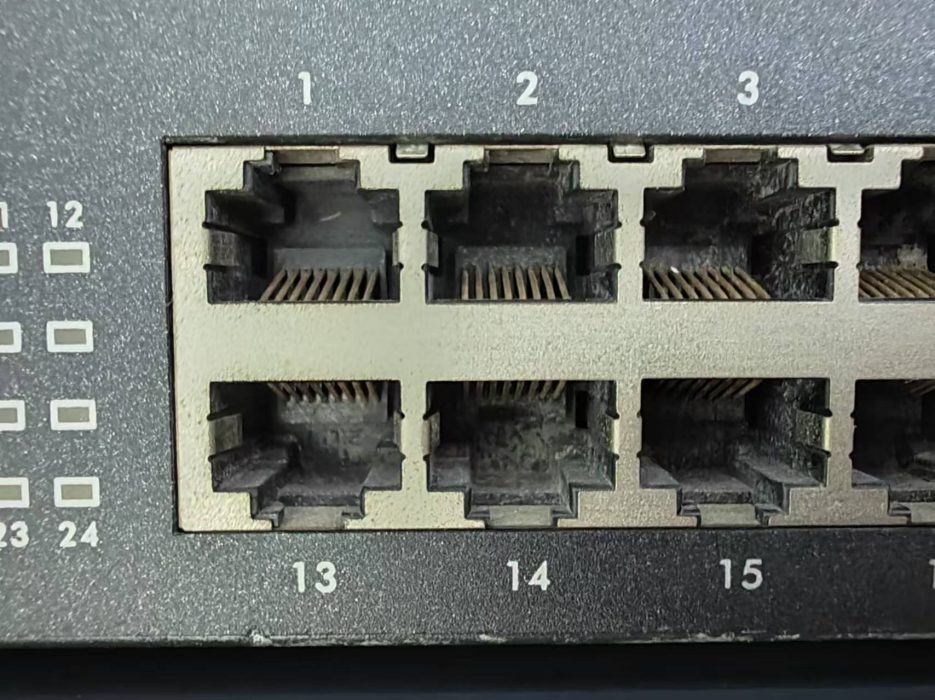
#3. Try a different port: If the Ethernet cable is fine, you may need to be wary of a faulty Ethernet port and plug it into a different port to see if it connects to the network.
#4. Reboot your computer or network device: Rebooting solves 90% of all problems. Please reboot your computer or router to get them reconnected to the network. Try disabling the network before restarting the computer and then enabling it again to see if the problem can be solved.
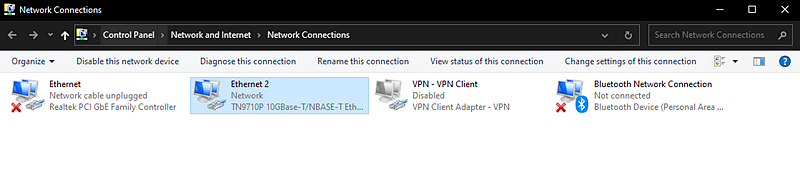
The steps to disable and enable the network are as follows:
- Open Control Panel, click ‘Network and Internet,’ then click ‘Network and Sharing Centre.’
- On the Network and Sharing Centre interface, click ‘Change Adapter Settings’ on the left column.
- Select the Wired Ethernet Connection flag, right-click, click Disable, and finally, Enable again.
#5. Update network driver: An outdated or corrupted network driver may prevent you from connecting to the Ethernet network. To update the network driver, proceed as follows.
- Click the ‘Start’ button, then select ‘Device Manager’.
- Expand ‘Network Adapters’, right-click on the Ethernet adapter, and select ‘Update Driver.’
- Select ‘Automatically search for drivers,’ then follow the instructions.
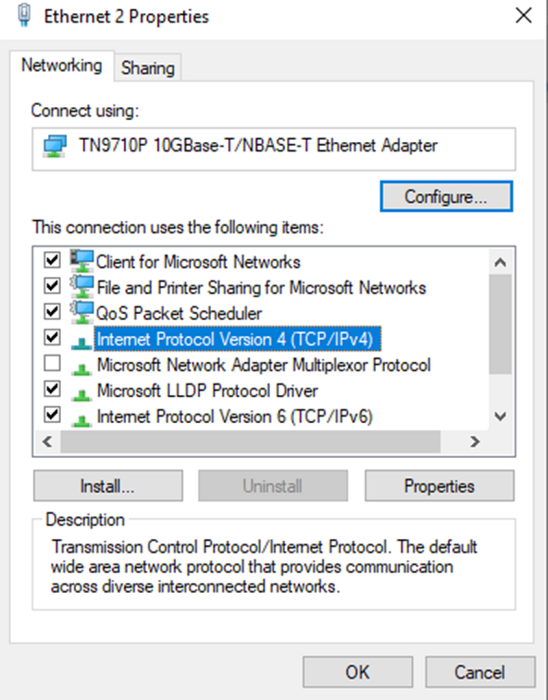
#6. Check the network adapter settings:
- Open Change Adapter Settings as described above, then select the Ethernet Connection logo, right-click on it, and select Properties.
- Find Internet Protocol version 4, select ‘Obtain an IP address automatically’ and ‘Obtain DNS server addresses automatically,’ and click ‘OK’ to save.
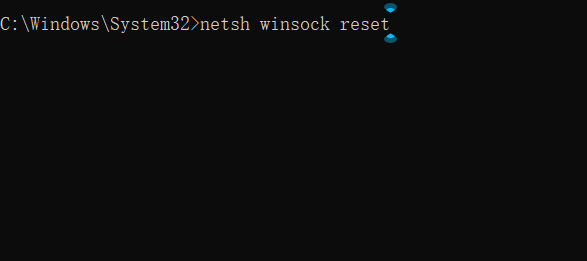
#7. Manually reset the TCP/IP stack, release and renew IP addresses, and refresh and reset DNS: The steps are as follows.
- Select ‘Search’ on the taskbar and type ‘Command Prompt.’ The Command Prompt button will appear. On the right side of it, select Run as administrator.
- Type these commands in order and click ‘Enter’: netsh winsock reset, netsh int ip reset, ipconfig/release, ipconfig/renew, ipconfig /flushdns.
8. Disable security software: Third-party security software can sometimes affect the network connection. Temporarily disable specific security software and then check if you are connected to Ethernet.

The above inspection and solution steps may not be perfect for Ethernet cable problems. If you have good suggestions, leave a message; we will constantly add them!
Reference
- Troubleshooting Guide: Ethernet Cable Not Detected on Windows 10 – GEARit
- Wireless UWNet – Unable to Connect (wisc.edu)
This blog post provides helpful guidance on solving common Ethernet cable issues, such as connectivity problems and signal loss. It outlines steps to troubleshoot, test cables, and ensure proper installation for optimal network performance. A practical and easy-to-follow resource for anyone facing Ethernet-related challenges in their network setup.